This week in the #Solidscape Instagram tag you can find examples ranging across the entire 3D printing jewelry making process: Idea, Design, CAD, Final Print, and Casting. What comes at the end? Let’s start at the beginning.
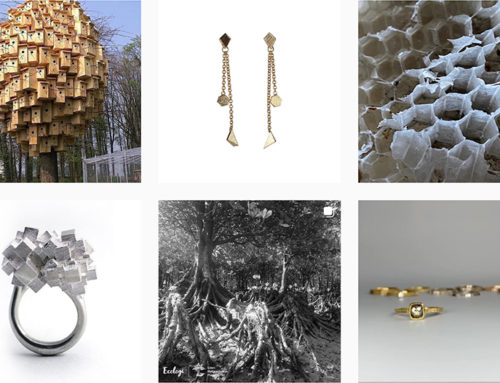
First, you need an idea of a product and a design and a visual representation of that idea to kickstart the process of bringing your idea to life. You can visually represent your idea on paper or in CAD software. Sasha.dolgikh shared a sketch of a beautiful earring design on paper pre-CAD.
Mobiusjewelrydesign shared their complex ring designed in Keyshot software.
A photo posted by Mobius Design (@mobiusjewelrydesign) on
Next, you print your design as a 3D model on a 3D printer. This week Robertglennltd shared a video of their Solidscape High Precision 3D printer printing out their ring designs.
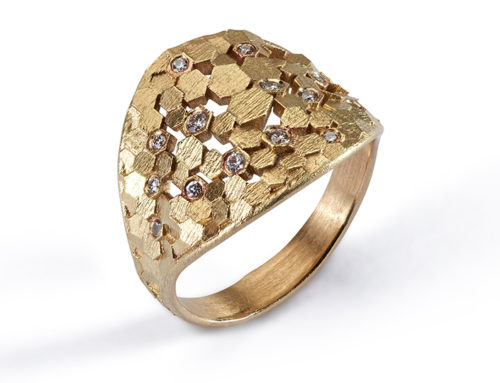
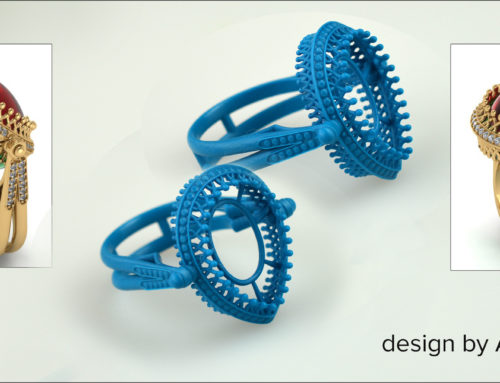
When the printing process is finished and the support material is removed, your jewelry design is now a 3D wax model you can hold in your hand! Mobiusjewelrydesign’s 3D printed wax model of the same ring design.
…and here’s the wax model #jewelry #CAD #3dprinting #mobiusjewelrydesign #solidscape #diamondjewelry
A video posted by Mobius Design (@mobiusjewelrydesign) on
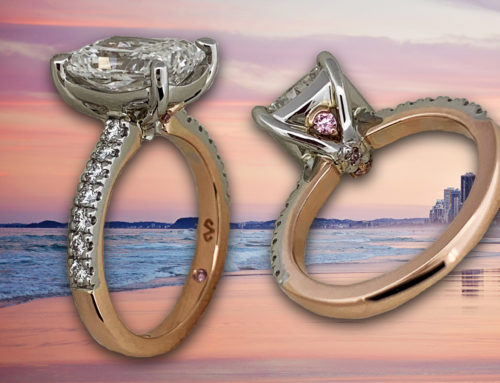
FCJoyeros shared not only shared the wax models of their Dragon Earrings, but also the next step in the process: Casting. You can see the dragon cast in silver.
A photo posted by FCJoyeros (@fcjoyeros) on
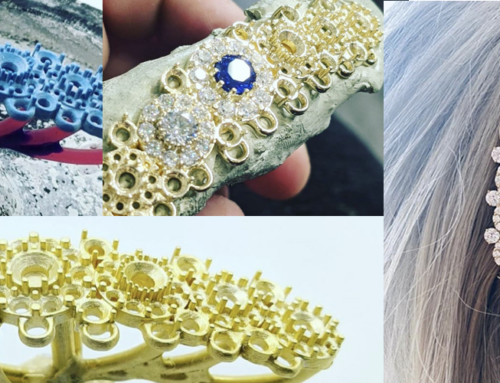
Finally, Alexandria from Bostonian Jewelers shows us the final stage of printing your stunning and beautiful jewelry designs on a Solidscape High Precision 3D printer: building quite the impressive wax model collection!
What do your wax model collections look like? Share with us on Instagram and don’t forget to tag #Solidscape!