The teacher and students gather around the table in anticipation. It is the big day! Part III of Alexandria Matossian’s Digital Design & 3D Printing for Jewelry Making workshop is the day the students get to see the jewelry designs they created in CAD as 3D printed models for the first time.
“It’s like Christmas morning!”
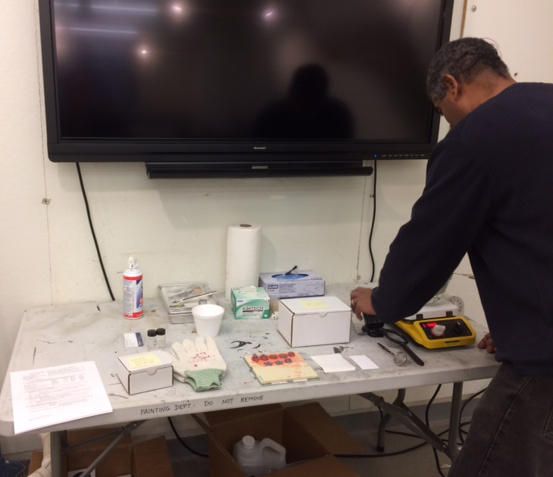
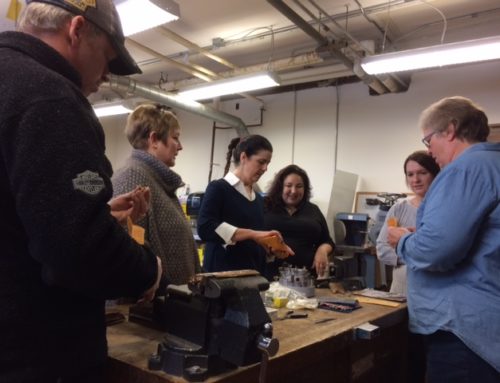
Roland from Solidscape’s Model Lab setting up a dewaxing station at NHIA
The 3D printed models are still lined up on the build plate, covered with support material. The designs inside are hidden, like little Christmas presents. To get them off, the build plate is placed on a hot plate to melt the first two platform layers of support material off the bottom. To help the layers melt faster, the models are covered to trap the heat.
“Can we look at them yet?” Alexandria Matossian asks eagerly. She is just as excited as the first-time 3D printing students are. “This part never ever gets old.”
Once significantly melted, the models are taken off the build plate and placed into a bath of VSO for full dewaxing. What is dewaxing, you ask? Roland from Solidscape’s Model Lab attended Part III of the workshop to demonstrate exactly that.
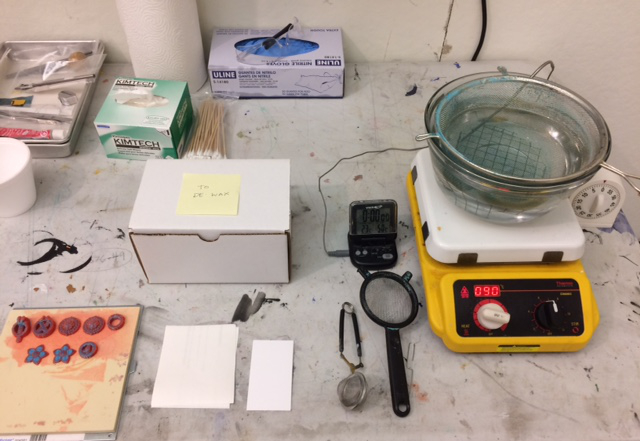
The dewaxing station featuring the build plate, lint-free wipes, Q-tips, Latex gloves, safety glasses, strainers, hot plate, heater-stirrer, thermometer, bowl of VSO, and timer
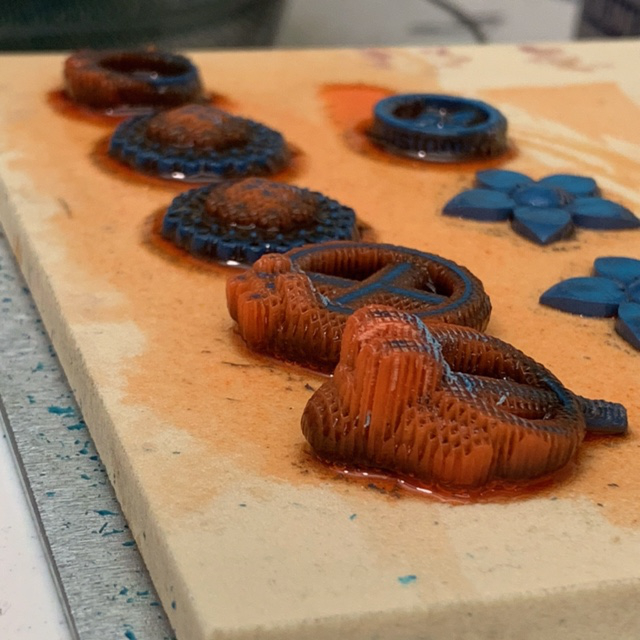
Melting the bottom platform layers on the hot plate
First, let’s talk about resin 3D printers. The 3D printed models from Resin 3D printers have supports attached all around the model to keep pieces attached together. These supports are necessary to preserve the shape of the model and ensure that it doesn’t get warped as it prints. They have to be carefully cut and filed off in post-processing.
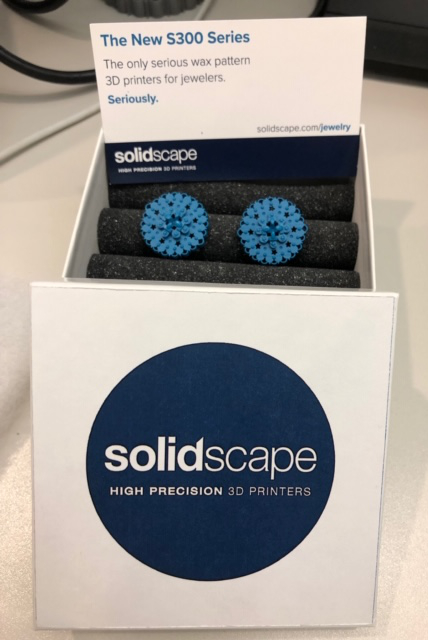
For Solidscape High Precision 3D Printers, however, there is no need for the supports as they are replaced with our red dissolvable support material, Melt. The advantage of dissolvable material is it allows for undercuts, overhangs, and hollow pieces easier than resin supports. Also, dewaxing is a hands-free process. The model just has to be placed in a VSO liquid solution until the red material disappears, leaving behind a smooth, crisp blue wax model ready for casting into metal.

The students models dewaxing in VSO bath
After 15 minutes of anticipation, the models are revealed. The class ooh’s and ahh’s during the big moment when they see their designs as models they can now hold in their hands. “Oh, this is so cool!” “Look how cute that is!”
“It was like a combination of Christmas morning and an aha moment! It was everything.” – Ali Matossian
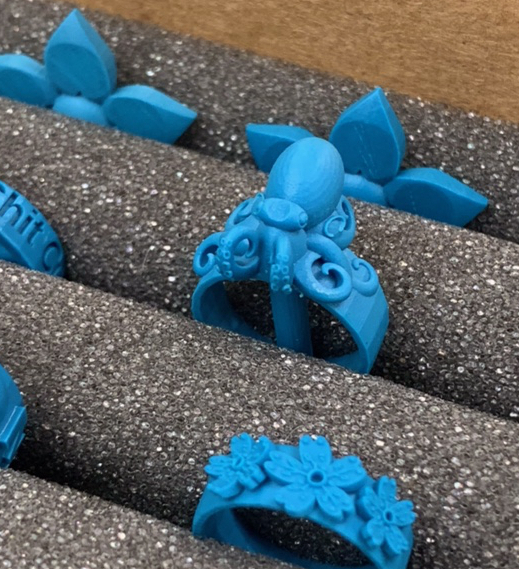
Solidscape brought extra models that were already dry for the students to hold and examine
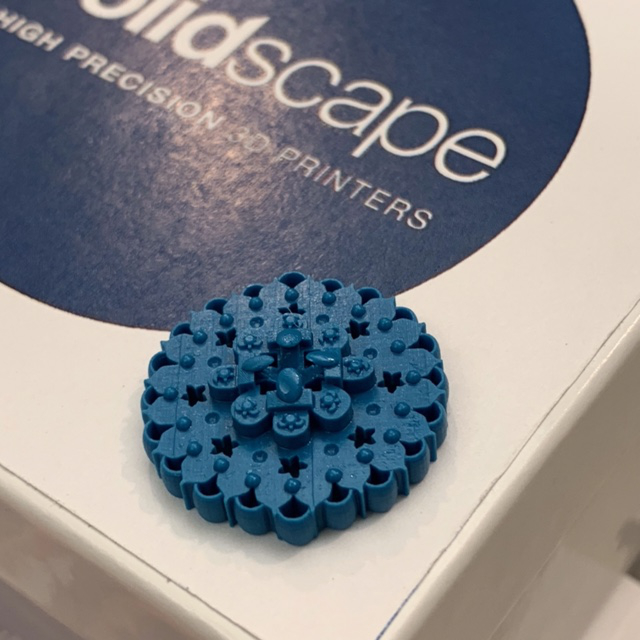
Can you see the turtles?
Part III: Editing & Refinement
After the students received their finished models, they were able to use the rest of the workshop to modify their designs. For instance, TinkerCAD software does not have finger sizing like Matrix does. As a result, some of the ring models came out a little small.
Alexandria stressed that professionals are modifying their designs all the time. Every design has multiple ways to approach editing. For instance, you can create a second version, you can change proportions, or you can start all over again. CAD truly elevates the editing process to a whole new level.
One student decided to make a whole new design. “I learned a lot from the first one.”
“That’s what it’s all about!” Ali replied.
The students dived in to editing their designs by:
- Changing
- The proportions of pieces
- Gemstone sizes
- Orientation of the model on the work plane for optimal printing
- Creating
- New prong settings
- Tiny channels to connect two pieces
- Thickening pieces that could break easily
- Working more designs into the center of the piece
- Rounding out shapes
- Making designs more symmetrical
- Investigating weird angles
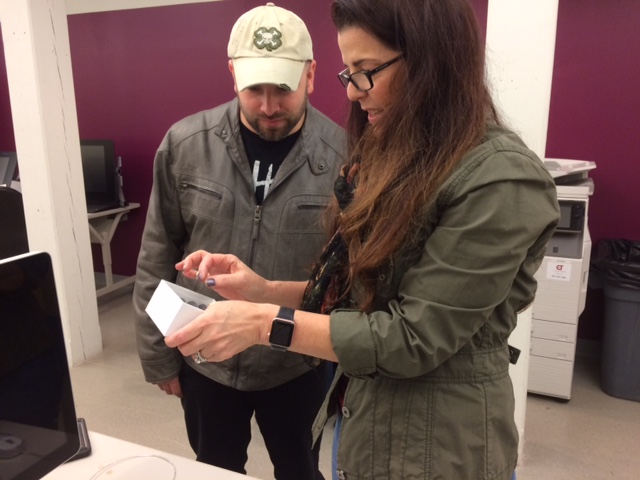
James Chase from NHIA and Ali Matossian marveling at the extra models
The Introduction to Digital Design & 3D Printing for Jewelry workshop at the New Hampshire Institute of Art has its last day on November 17th. NHIA is a tight-knit community of creative thinkers, artists, designers, writers, and art educators who use the power of our creativity to transform the community around us, according to James Chase. “We are so thrilled about this collaboration and this series of hands-on weekend workshops designed to introduce everyone — from the traditional jeweler with no experience using digital technology to the designer comfortable using software design tools but no experience using 3D printing technology — to the potential of this new field of digital jewelry making.”
Solidscape has been a part of digital jewelry making for over ten years. We are proud to partner with NHIA and Alexandria Matossian to help teach new skills and present cutting-edge technology to designers in New Hampshire.