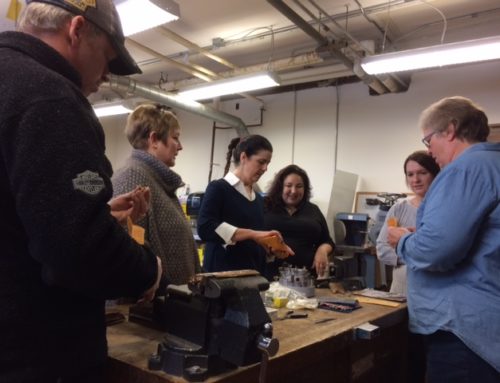
The weather outside was cold and rainy, a perfect day for a CAD workshop according to Alexandria Matossian. She was teaching at the New Hampshire Institute of Art in Manchester, NH. Part I of Alexandria’s Introduction to Digital Design & 3D Printing for Jewelry workshop began with a quick overview of shapes in CAD. It sounds simple, but approaching shapes can vary depending on which software you use. Ali decided to use TinkerCAD during the workshop to allow her students to be creative without the constraints of having to Boolean their models. Next, they looked at their first project where each student designed their own bee. They used the bees to discuss the viability of 3D printed objects and how they would be cast in metal.
“The pre-made shapes within Tinkercad allow for creativity right out the gate.” – Alexandria Matossian
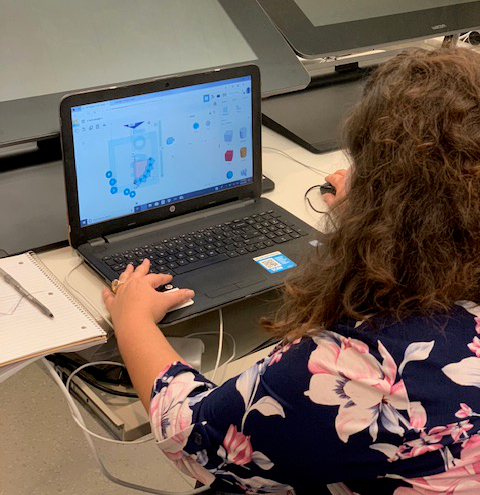
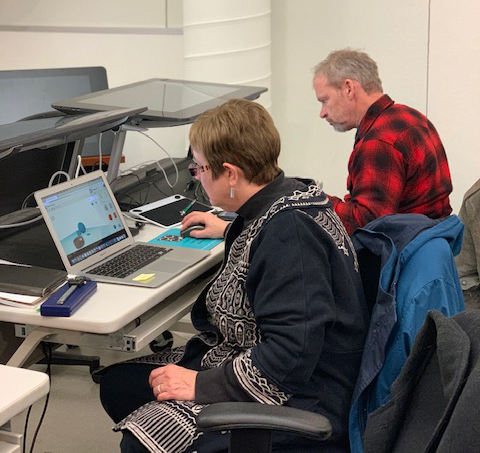
After the overview, Part I: Digital Design gave the students the opportunity to design their first 1” x 1” x 1” max design over two days. For the first afternoon, they explored how they would approach their ideas in TinkerCAD. The next day, everyone was so engrossed in their work that they forgot to take a lunch break! When the models were just about done, Ali came in to help adjust thickness, make edits, and place gemstones in Matrix software.
“I’m super proud of each person for learning something different and difficult as well as completing a model by 3 pm.” – Alexandria Matossian
As the class went on, they discovered five key tips for success in digital jewelry design:
1. Shift key will lock your plane for better control
The work plane is the floating horizon in CAD software where the magic happens, according to Ali. When using TinkerCAD for the first time for the workshop, the work plane was the hardest for Ali to adjust to from Matrix. The shift key helps to give greater control by locking the plane.
2. Build elements at a comfortable size and adjust later
This technique is not always applicable but with simple shapes in TinkerCad, zooming in and out can cause confusion. Create your part or multiple parts at a size that is easy to see and work around. When you are ready to add on, decrease the size.
3. Allow yourself to be creative and change course if necessary
One of the biggest advantages CAD has to offer is the ability to go back to designs to modify time and time again. The designer does not have the limitations of the bench, such as no undo button. You can start over or change course as many times as you want until you’re satisfied that the idea in your head has successfully come into fruition in 3D.
4. Keep track of each part using different colors
While using the duplicate function, it is possible for multiple elements to be generated without us being aware. For example, in a web-based program like TinkerCad, a lag in response time and clicking twice can cause an extra duplication. Once you have created a new element, assign a color to keep track of all the working parts.
5. Check your posture and take breaks
As they discovered on the second day of Part I, it is easy to get absorbed into your work. Don’t forget to check your posture. Taking breaks is just as important as the work itself. Breaks can be helpful especially if you are in a creative rut or struggling with part of the software. Time away can refresh your perspective of the design or outlook of how to use the tool.
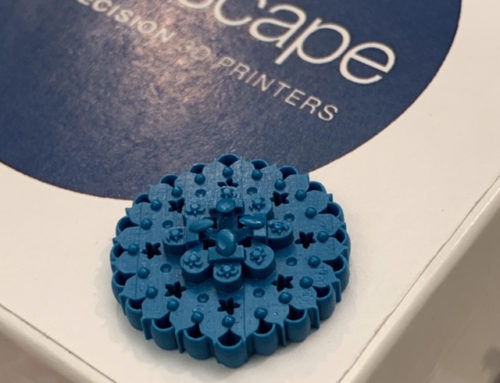
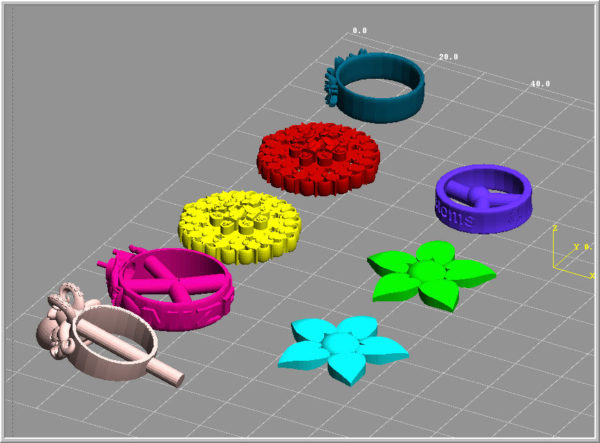
Stay tuned to see the designs the students worked so hard on! They are being 3D printed as we speak!
The Introduction to Digital Design & 3D Printing for Jewelry workshop at the New Hampshire Institute of Art continues this weekend, Nov 3rd and 4th. NHIA is a tight-knit community of creative thinkers, artists, designers, writers, and art educators who use the power of our creativity to transform the community around us, according to James Chase. “We are so thrilled about this collaboration and this series of hands-on weekend workshops designed to introduce everyone — from the traditional jeweler with no experience using digital technology to the designer comfortable using software design tools but no experience using 3D printing technology — to the potential of this new field of digital jewelry making.”